How to Manually Remove a VPN Profile on Your macOS
This guide covers simple instructions on how to remove a VPN profile on your macOS computer. Let’s answer all your questions now. How to get rid of a VPN on Mac? What to try before deleting VPN if you’re facing issues with it? How does uninstalling a VPN on Mac affect your security and privacy?
Problems with VPN on Mac? Try This Before Deleting It!
VPN is not secure enough for me
VPNs are most often employed for their security and privacy capabilities. They encrypt your outbound traffic, mask your IP address, and hide your physical location. However, sometimes you need more than that. Basic VPNs can’t offer any more though, and so some users start looking at how to uninstall VPN on Mac and get something more secure.
VPN Unlimited is not your basic VPN. It offers a host of additional security features that you might want to try out first before you delete our VPN from your Mac. They are as follows:
- Selection of VPN protocols - some are faster, some are more secure, and others enable the use of additional security features. Choose the protocol that best suits your needs!
- Trusted networks - keeps your VPN disabled in networks where you don’t want it (e.g. those you trust or those that don’t allows VPNs).
- Run on startup - worried you may forget to launch VPN and leave yourself unprotected? Enable this feature!
- Kill Switch (only available with IKEv2 protocol) - disables your internet if your VPN connection drops, which prevents you from accidentally leaking your data.
- MonoDefense security bundle - cost-efficient way to get more security solutions.
Protect Your Traffic and On-Device Data
VPN Unlimited for web data + Passwarden® for on-device information
VPN slows down internet speed
This is the most common reason why people start looking at how to delete their VPN. Who would enjoy seeing their connection speed drop to unbearable lows, followed by constant lags? This problem stems from the technicalities of the VPN technology - it uses encryption to protect your data.
At least some negative impact on your internet speed is inevitable. But with that said, there are ways to speed up the connection of your Mac VPN client. The easiest option is to change your VPN server. Other than encryption, aspects that affect your internet speed the most are the VPN server’s workload and its distance to your location.
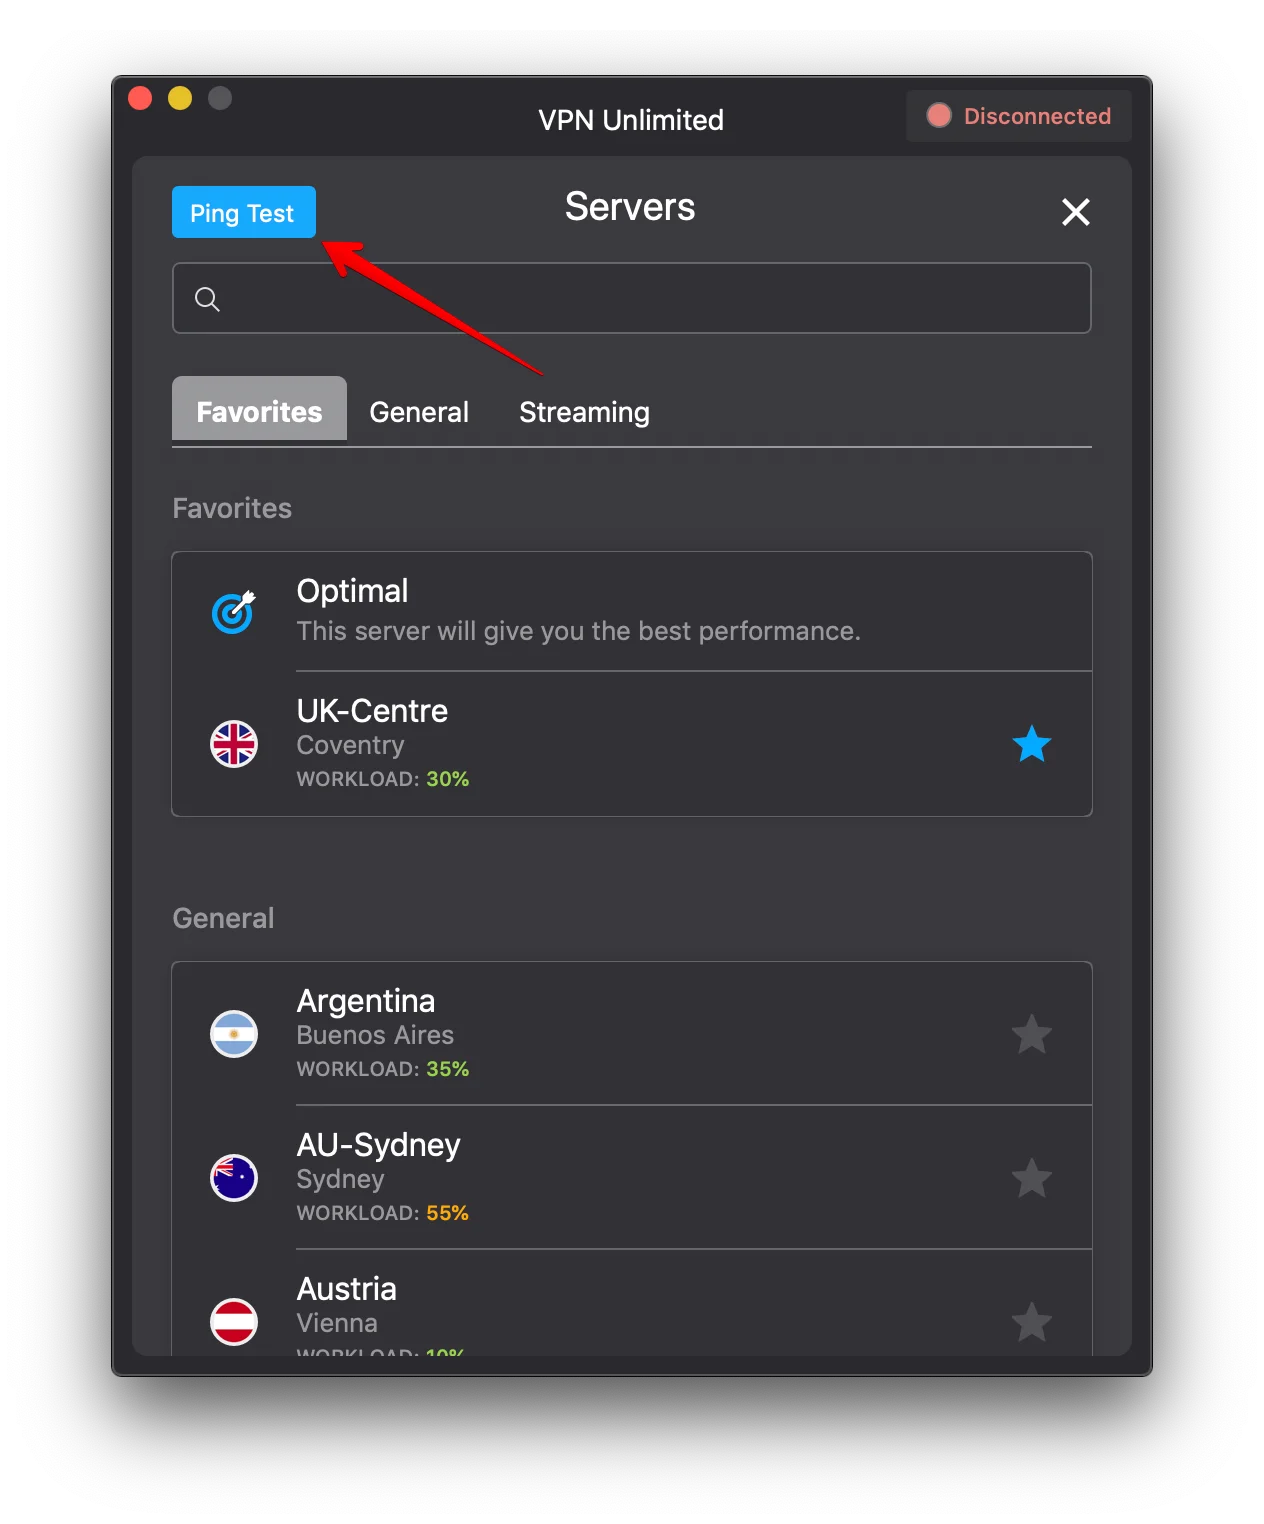
So before you uninstall VPN from your Mac, try connecting to a different VPN server, preferably one that’s less populated and is closer to you. For better results, use the Ping Test feature in VPN Unlimited - it will show which servers should work better for you (the smaller the ping, the better).
Out of device slots
Best VPN services, such as VPN Unlimited, allow you to use the same account across multiple devices. This is convenient: you can protect all your gadgets at once, ensure that you stay private both at home and on public WiFi, and bypass geo-blocking and censorship wherever you are.
However, that also means that you can run out of device slots and won’t be able to access VPN Unlimited on another device. If that’s the case, no need to get rid of VPN on your Mac! You can simply delete a device from your VPN Unlimited device list to free up a slot for a new one. Or you can easily get more device slots to expand your VPN coverage.
Note: If you have already uninstalled VPN Unlimited, but want to use it again, then you can download VPN for mac again.
How to Remove a VPN Profile on Mac
If you're still determined to get rid of VPN on your Mac, click the spoiler below ↓

Check out our VPN Lifetime subscription + 30-day money-back guarantee!


“OpenVPN” is a registered trademark of OpenVPN Inc. “WireGuard” is a registered trademark of Jason A. Donenfeld.