Mastering Screenshot Management on Mac: Tips and Tricks
In the digital age, screenshots have become an indispensable tool for capturing and sharing information. Whether you need to save a funny meme, document an error message, or demonstrate a process, taking and managing screenshots on your Mac is a skill every user should master. In this article, we will explore various aspects of screenshot management on Mac, including how to take, edit, organize, and share your screenshots effectively.

Taking Screenshots on Mac
Full Screenshots
One of the simplest yet most commonly used methods to capture your entire screen is by pressing a combination of keys. To take a full screenshot, press Command (⌘) + Shift + 3. The screenshot will be automatically saved to your desktop.
Partial Screenshots and Timing
If you only need to capture a portion of your screen, press Command (⌘) + Shift + 4. This will turn your cursor into a crosshair. Click and drag to select the area you want to capture. You can also adjust the screenshot timing by pressing Command (⌘) + Shift + 5 and selecting "Options" to set a timer for your screenshot capture.
Advanced Screenshot Techniques
Scrolling Screenshots
Sometimes, capturing an entire webpage or document requires more than what fits on a single screen. Mac offers a built-in solution for this. To capture a scrolling screenshot, press Command (⌘) + Shift + 4 and then press the Spacebar. Your cursor will turn into a camera icon, allowing you to click on the desired window to capture a scrolling screenshot.
Windows Keyboard on a Mac
If you're using a Windows keyboard on your Mac, you might wonder how to take screenshots. The process is slightly different but straightforward. Use the "Print Screen" key on your Windows keyboard, and your Mac will capture the entire screen. For a partial screenshot, press the "Alt" key in combination with "Print Screen."
Long Screenshots
Need to capture a lengthy webpage or document that extends beyond what you can see on your screen? Mac allows you to take long screenshots by scrolling down while taking the screenshot. Simply press Command (⌘) + Shift + 4 and capture the initial part of the page. Then, scroll down and continue to take more screenshots until you've captured the entire content. These individual screenshots can later be stitched together.
Editing and Customizing Screenshots
Highlight and Annotate
Sometimes, a plain screenshot isn't enough to convey your message. Mac provides basic editing tools for highlighting and annotating your screenshots. Simply open the screenshot, click the "Markup" option, and you can add shapes, text, arrows, and more to emphasize specific parts of the image.
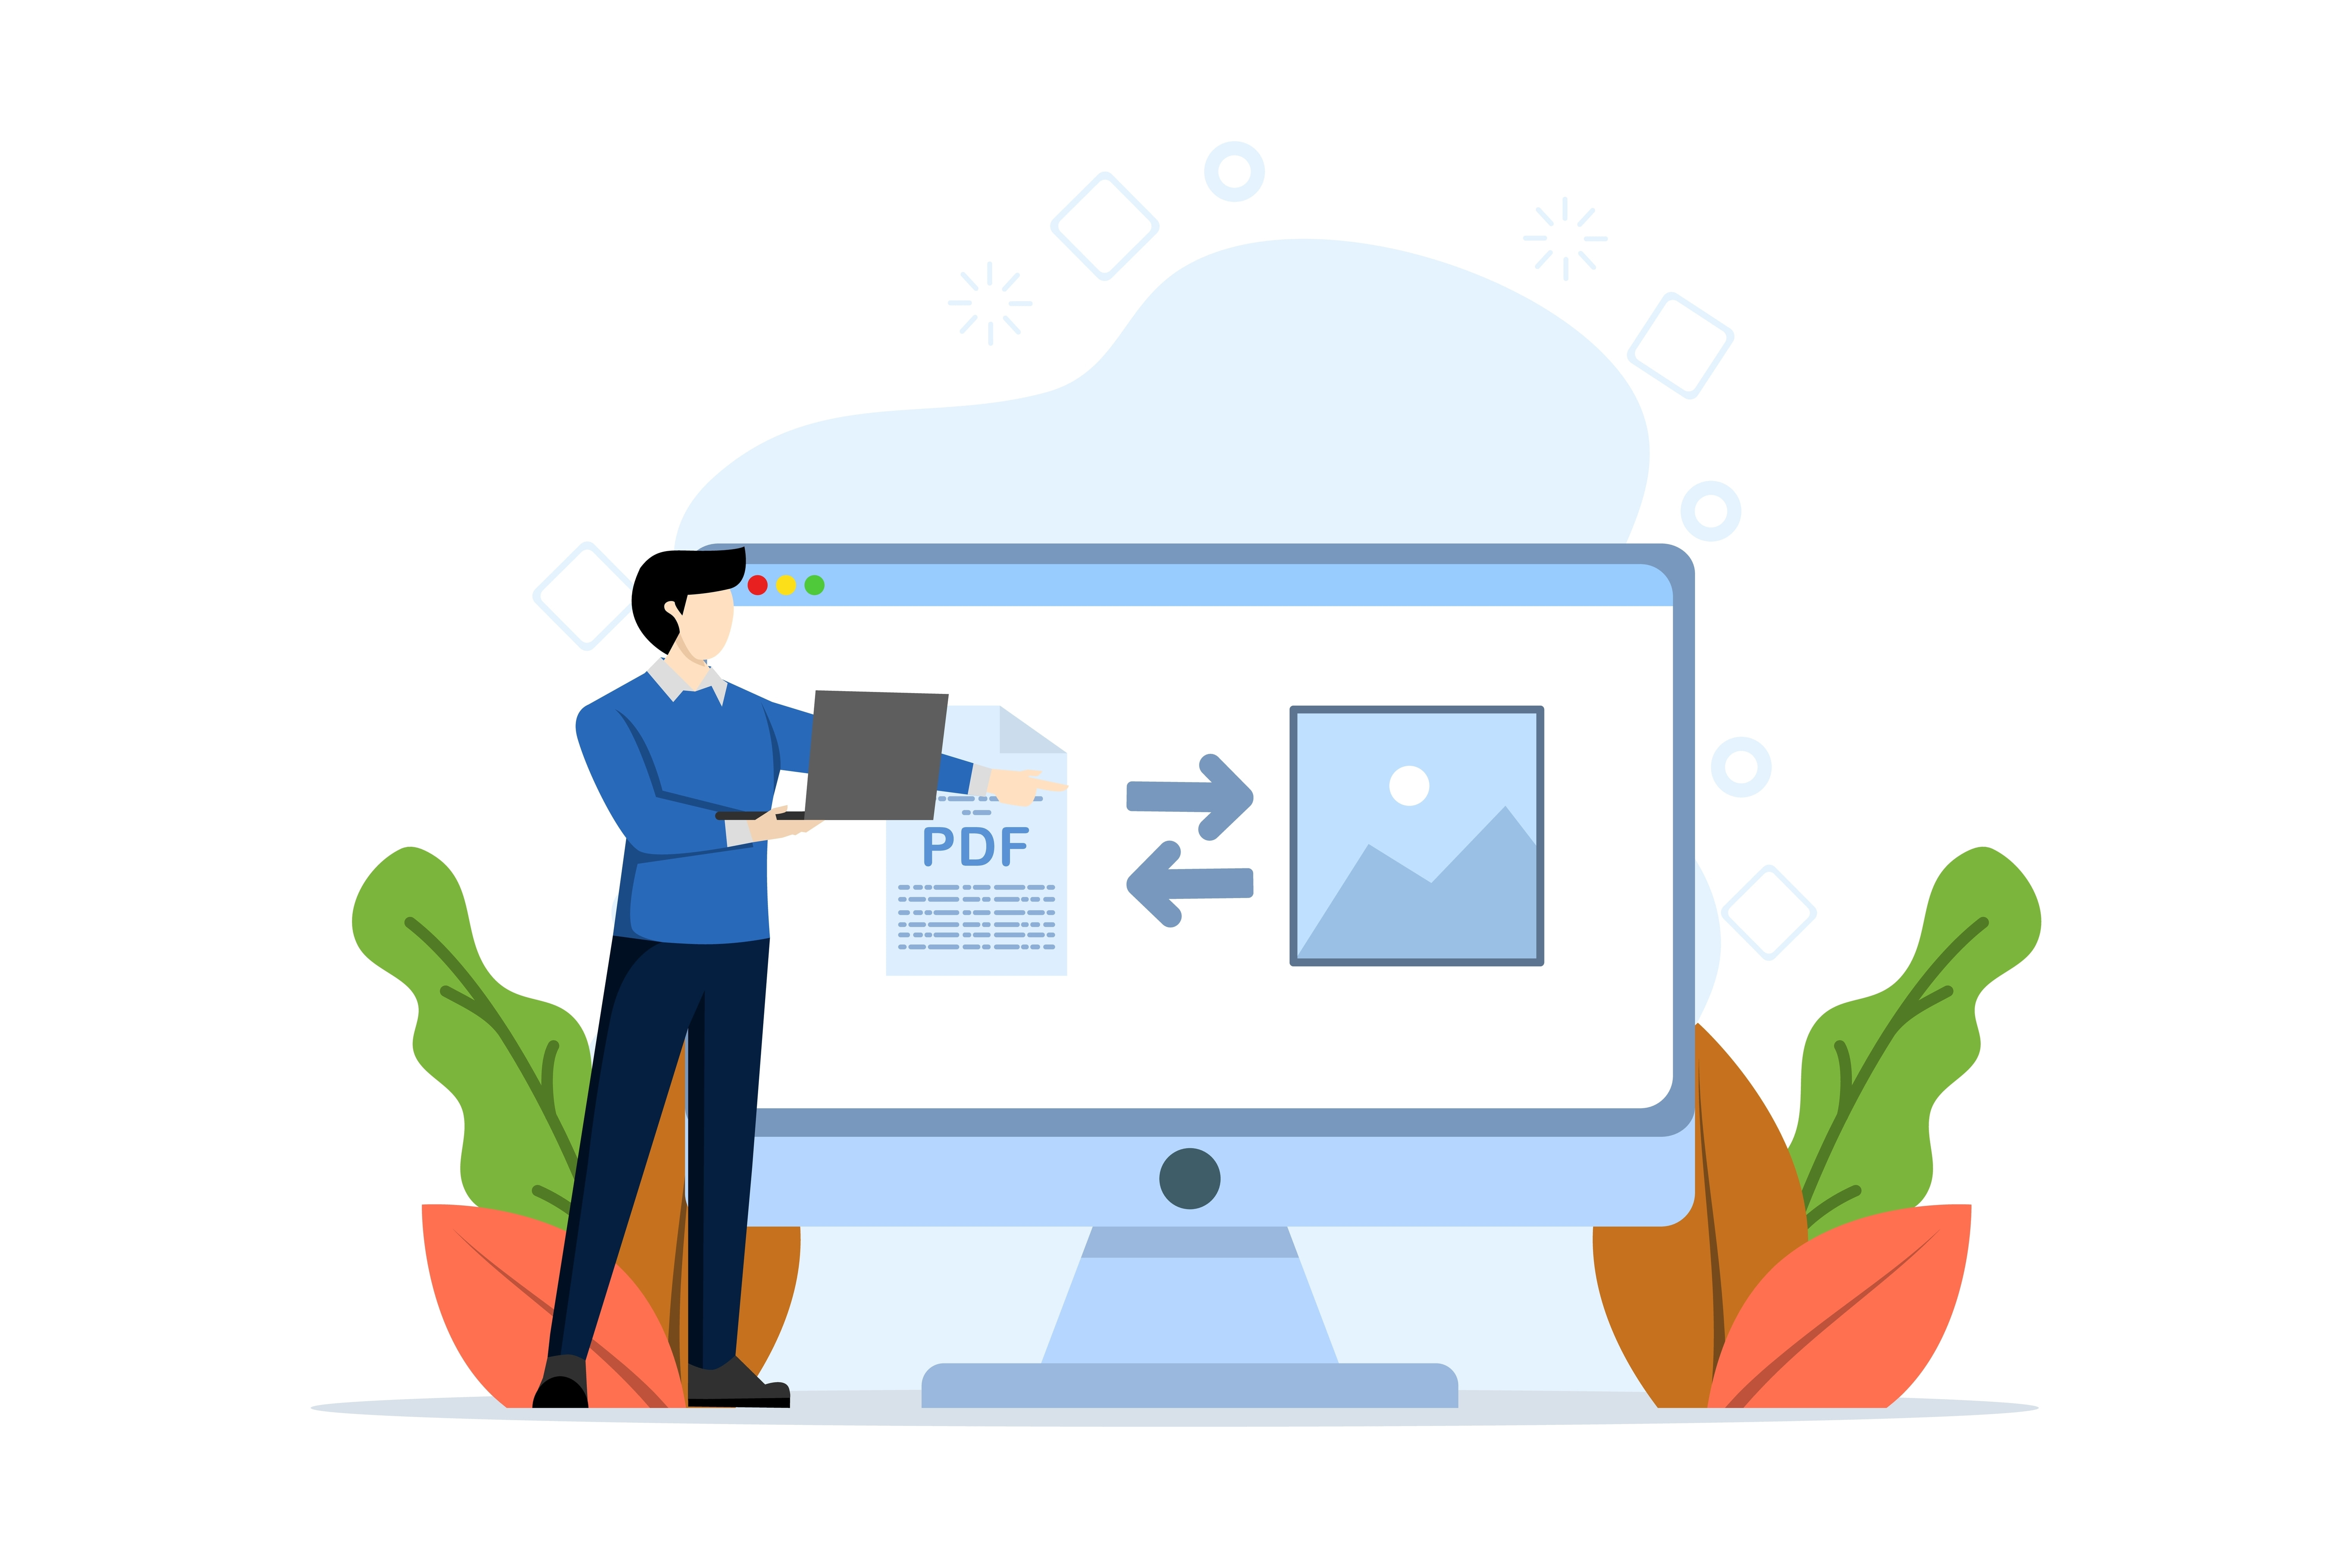
Converting Screenshot Formats
By default, Mac captures screenshots in PNG format. If you need to convert them to different formats, such as JPG or PDF, it's easy to do. Open the screenshot, click "File" in the menu bar, and choose "Export as PDF" or "Export as JPEG," depending on your requirements.
Setting a Screenshot as Wallpaper
If you have a favorite screenshot that you want to use as your desktop wallpaper, follow these simple steps. Open the screenshot, click "File" in the menu bar, and select "Set Desktop Picture." Your screenshot will now be your wallpaper.

Organizing and Sharing Screenshots
Managing and Organizing Screenshots
By default, Mac saves your screenshots to the desktop. Over time, this can lead to a cluttered desktop. To keep your screenshot library organized, create a dedicated folder for your screenshots or change the default save location. You can do this by entering the following command in Terminal:
- defaults write com.apple.screencapture location /your/folder/path
Replace /your/folder/path with your desired folder location.
Attaching Screenshots to Emails
Sharing screenshots via email is a common practice. To attach a screenshot to an email, open your email client, create a new message, and drag and drop the screenshot file from your folder or desktop into the email composition window.
Conclusion
Mastering screenshot management on your Mac can significantly improve your productivity and make it easier to communicate and document information. Whether you need to capture full or partial screens, highlight key points, convert formats, or share them via email, these tips and tricks can streamline your workflow and enhance your Mac experience. Practice these techniques, and you'll be well on your way to becoming a Mac screenshot pro.

Dive into our comprehensive guide and become a screenshot pro but don't forget about safety on the web. Try VPN Unlimited!


Note: VPN Unlimited is also part of the MonoDefense security bundle.